Word插件开发快速入门
Word插件开发之前一直是基于VBS这样的脚本语言,这种方式有一个问题是其基于“Windows宏”,那么在非Windows的系统上就不是有好。最新的Office-Add-In支持基于Nodejs进行插件的开发。
环境
- Nodejs
- npm
安装依赖
1 | npm install -g yo generator-office |
创建工程
1 | yo office |
然后选择
1 | Choose a project type: Office Add-in Task Pane project |
接下来选择开发语言,这里我们选择TypeScript
1 | TypeScript |
接下根据提示给项目命名
1 | What do you want to name your add-in? (My Office Add-in) |
然后选择Word
1 | ? Which Office client application would you like to support? |
回车后,yo框架会创建工程架构并通过npm安装必要的nodejs依赖。最后会输出下面的信息:
1 | 230 packages are looking for funding |
运行工程
按照上面的提示,首选需要启动本地的调试服务。因为我们的Nodejs代码实际上是嵌入到Word中的一个HTML页面,其中包含了Nodejs写的功能逻辑。因此这个本地的服务相当于一个Nodejs的运行容器。
执行下面的命令启动服务
1 | npm start |
[!caution]
注意,一定要用管理员模式打开Powershell
然后控制台会提示是否运行本地服务执行Edge的 WebView。由此可见Word插件开发是基于浏览器的WebView的。
1 | Debugging is being started... |
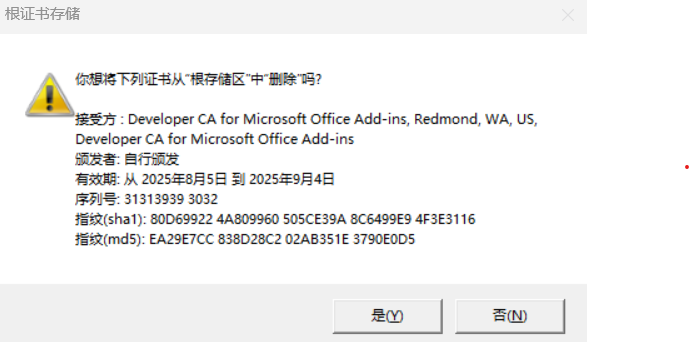
Word插件的开发需要Office 插件的证书,因此运行项目的时候可能会出现未知异常,这很可能是证书失效了。解决的办法是用管理员身份打开Powershell,然后再执行上面的命令。此时会弹出下面的提示,选择“是”。
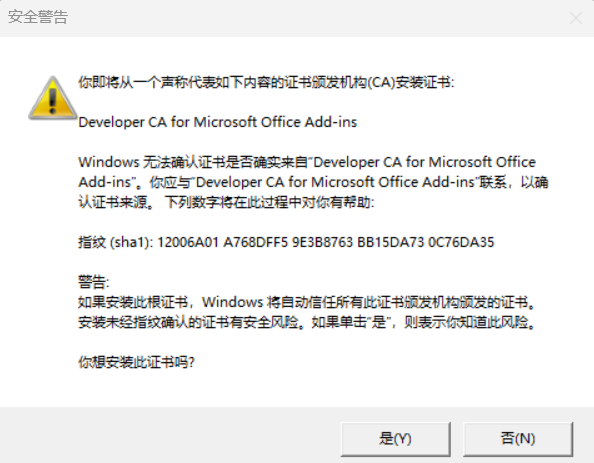
然后系统会再给你颁发一个新的证书,弹出如下的对话框,选择“是”
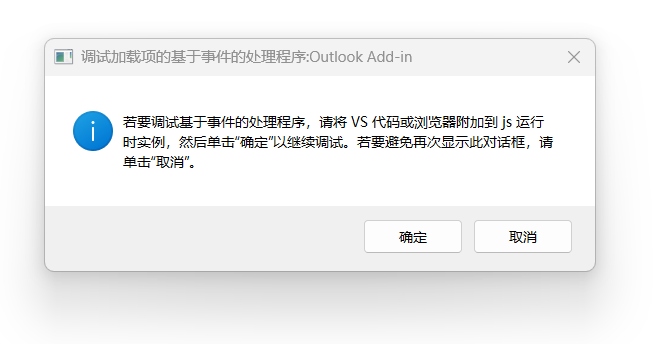
接着系统会打开Word,并出现下面的提示,点“确定”即可。
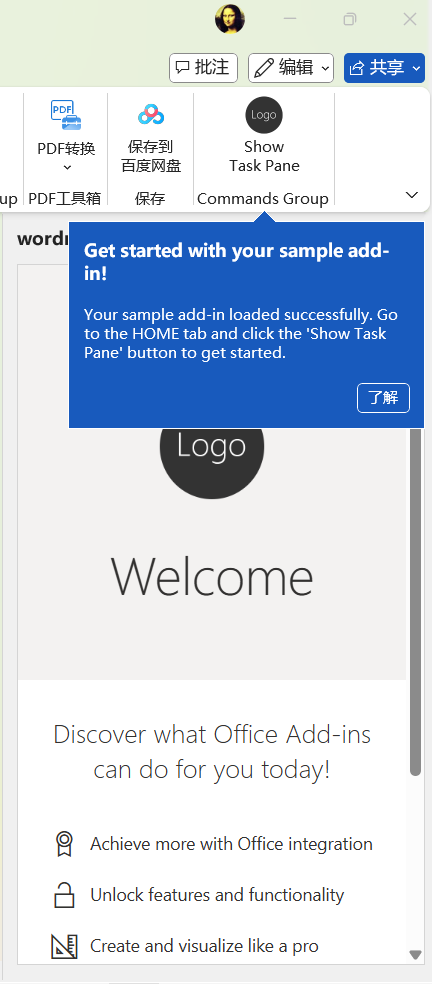
这时我们会发现系统的右边出现下面的界面,这是yo为我们生成的骨架程序,我们基于这个工程进行修改即可。
自定义面板
示例工程给出了Word插件的骨架。我们的项目中将开发一个Word插件来检查当前文档中的错别字。暂时给它取个名字叫“文镜”,那么我们来按照这个需求修改一下插件的名称和一些定制的界面内容。
修改插件名称
默认的插件名称是示例工程提供的,我们在这里要改成“文镜”两个字,默认的菜单分子是”Commands Group” 我们要改成“文镜校对”几个字。修改的方法是打开项目根目录下的manifest.xml文件,然后找到bt:ShortStrings 和 bt:LongStrings 这两个元素,然后找到对应的位置修改如下:
1 | <bt:ShortStrings> |
修改面板的名称
当插件启动的时候,面板的名称是默认的工程名,我们需要修改成应用的名称,方法还是找到manifest.xml 进行修改,找到 DisplayName 元素进行修改如下:
1 | <DisplayName DefaultValue="文镜"/> |
修改应用图标
默认图标是一个Logo 文字图标,我们在这里要换成自己的。图标文件在项目根目录的assets文件夹下面,我们需要创建下面几个尺寸的图片文件
| 文件名 | 尺寸 |
|---|---|
| icon-16.png | 16*16 |
| icon-32.png | 32*32 |
| icon-64.png | 64*64 |
| icon-80.png | 80*80 |
| icon-128.png | 128*128 |
| logo-filed.png | 300*300 |
可以自己设计也可以到iconfont上购买。
这些图标位置的定义也是在manifest.xml中,找到bt:Image 元素即可看到
1 | <bt:Images> |
第一个程序功能
我们使用TypeScript开发插件,其实主要功能就是利用Office封装的Nodejs的SDK来操作Word中的对象。在上面的示例工程中,当我们点击面板上的【Run】时,会在Word文档中插入“Hello World” 这样的文本。
yo工程的所有源代码都在src命令下,上述的页面面板就是在src\taskpane这个文件夹下面。其中有一个taskpane.html。其中就是普通的HTML。可见word插件是通过内置的WebView将HTML渲染出来。我们现在先不该界面元素。来看看点击按钮后是怎么在Word中插入文字的。
找到taskpane.ts文件,下面的Office.onReady 这个函数是在文档加载时执行的操作:
1 | Office.onReady((info) => { |
从代码中我们可以看到:
- if 判定Word的插件服务是否已经启动了
- 如果已经启动,那么下面的三行代码分别是:
- 给
sideload-msg元素设置样式 - 给
app-body元素设置样式 - 给
run元素的onclick事件绑定函数run
- 给
接下来我们看run 函数的功能是什么
1 | export async function run() { |
其中:
context.document.body.insertParagraph这个是Office插件SDK提供的函数,它的功能就是在文档中插入一段文本。后面的Word.InsertLocation.end参数意思是在当前文档最后的位置插入。paragraph.font.color = "blue";是设置刚才我们插入文字的颜色。await context.sync();是把把修改同步到当前文档中。
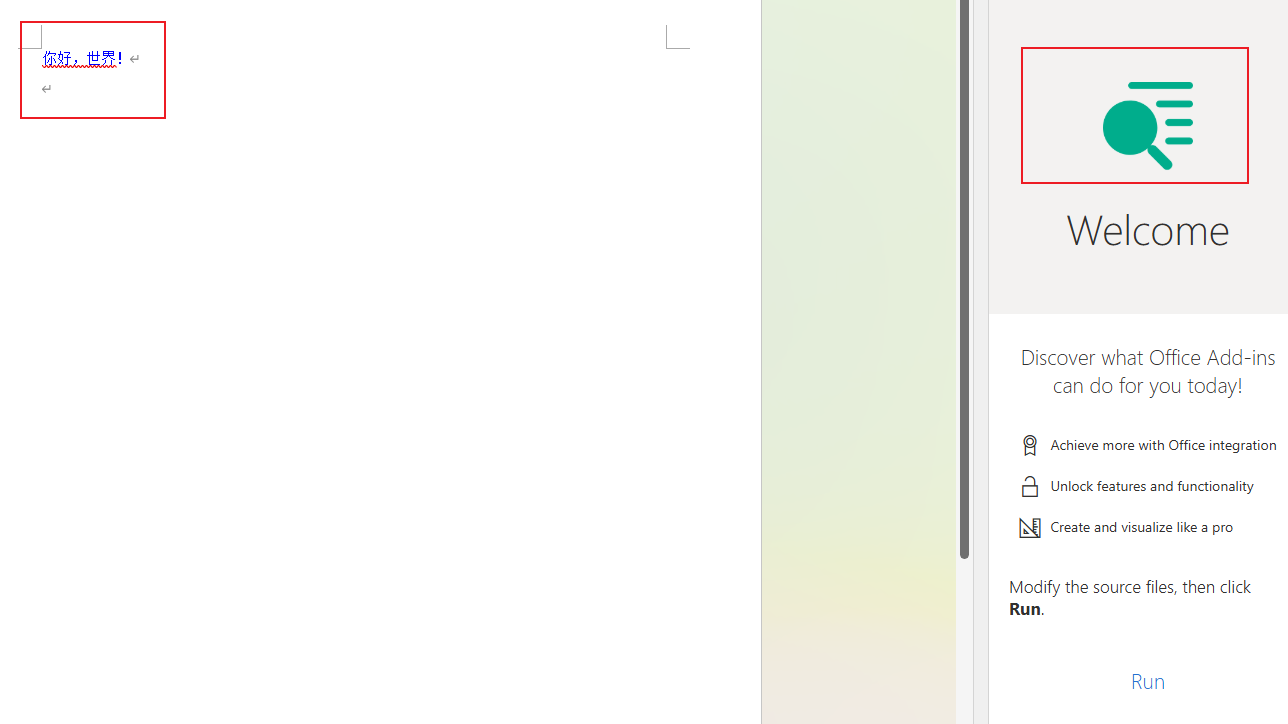
我们来试着修改一下,把刚才的”Hello Word”改成中文“你好,世界!”
再次点击【Run】,看效果如下